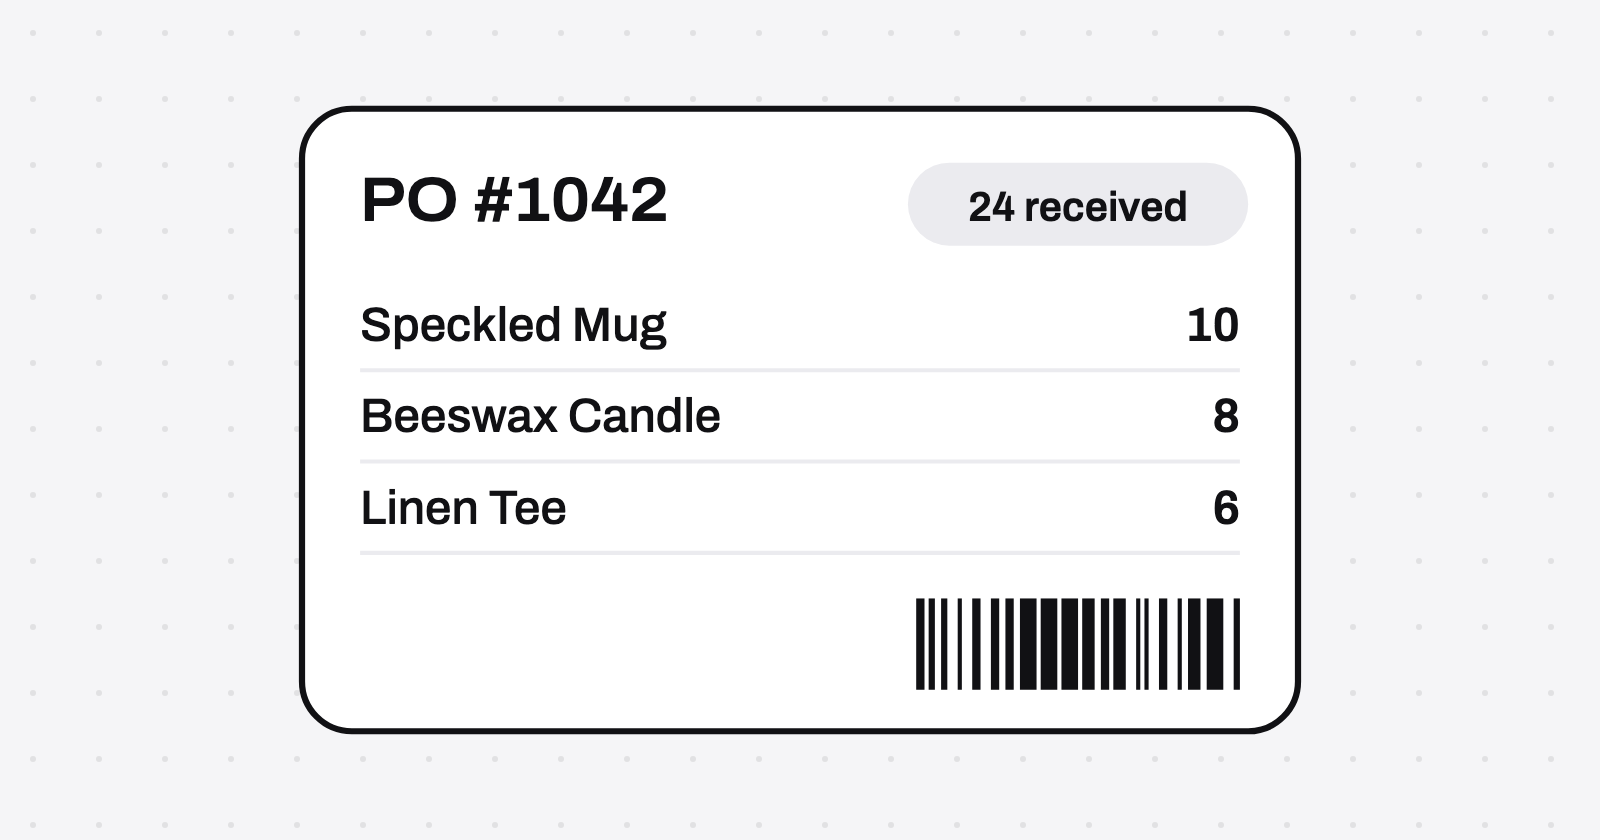
How to add barcodes to Shopify products
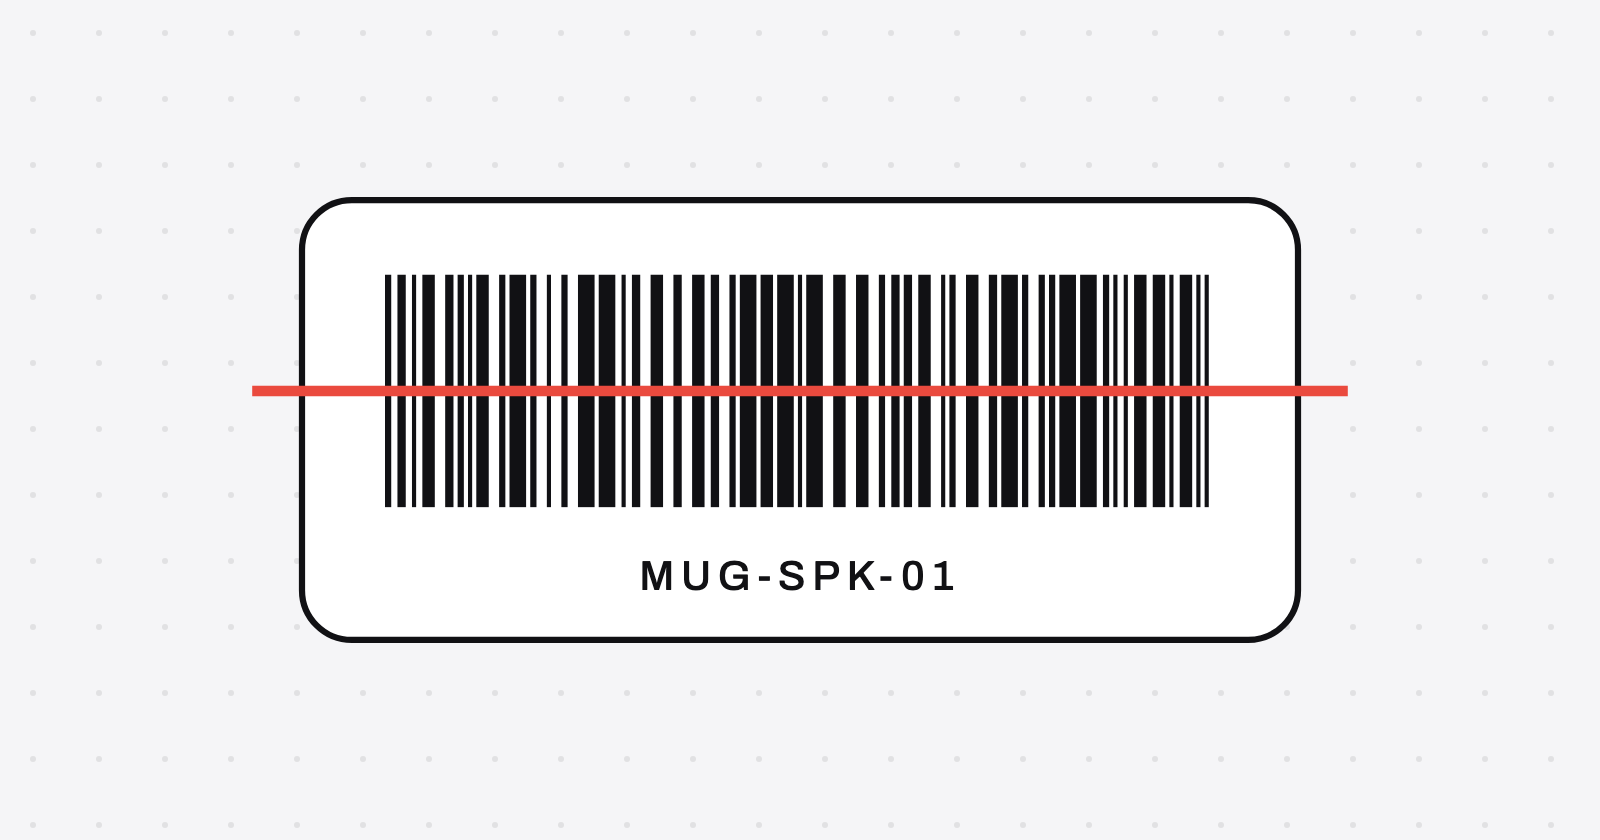
On this page
Shopify can make free barcodes for your own shop, but they won't work everywhere. Here's which barcode you need, where it goes in Shopify, and how to print it.
- Pick a barcode
- Add it to each variant
- Print labels
What you need
| You need | Details |
|---|---|
| A staff role | With product permissions turned on, to select products for printing. |
| The app | Shopify's free Retail Barcode Labels app, to make barcodes and print labels. |
| A printer | A supported Dymo or Zebra label printer connected to a computer, or a laser or inkjet printer with Avery sheets. |
| GTINs, if you need them | From the maker, or from GS1. The next section explains when. |
| A scanner, if you like | A barcode scanner for the bulk editor, or the Shopify mobile app to scan with your phone's camera. |
Which barcode you need
It depends on where you sell. A free code works inside your own shop. Any barcode you send to Google, a marketplace or a retailer must be a real, unique number.
| If you | Use | Why |
|---|---|---|
| Sell only in your own store and with Shopify POS | Free barcodes from Shopify's app, or your own codes | Shopify POS finds a product by any of its barcodes, or by its SKU. |
| Resell products from other brands | The barcode on the maker's packaging | Shopify says to ask the maker if you don't have it. Google recommends the maker's GTIN. |
| Sell your own products on Google Shopping | A GTIN from GS1, or none at all | Shopify says its app's codes aren't suitable for Google Shopping. Google says a store brand generally has no GTIN and doesn't need one. Submit the brand and MPN instead. |
| Sell your own products to retailers, wholesale or on marketplaces | GTINs from GS1 | Shopify says third-party channels need unique barcodes from GS1, and some sales channels might require a GTIN before a product can be published. |
What GS1 numbers cost in the US
GS1 US licenses a single GTIN for a one-time $30, with no yearly fee. A GS1 Company Prefix for 10 products costs $250, then $50 a year.
Those are GS1 US prices on 5 November 2026, and GS1 US says it can change them. Outside the US, check GS1's site for your country.
Count your variants, not your products. GS1 US says each variation of each product you sell needs a unique barcode. A shirt in 3 sizes and 2 colors, for example, needs 6.
SKU, barcode or GTIN: what goes where
A SKU is your own code for tracking stock. A barcode is a number a scanner reads. A GTIN is a barcode number registered with GS1, and UPC, EAN and ISBN are all kinds of GTIN.
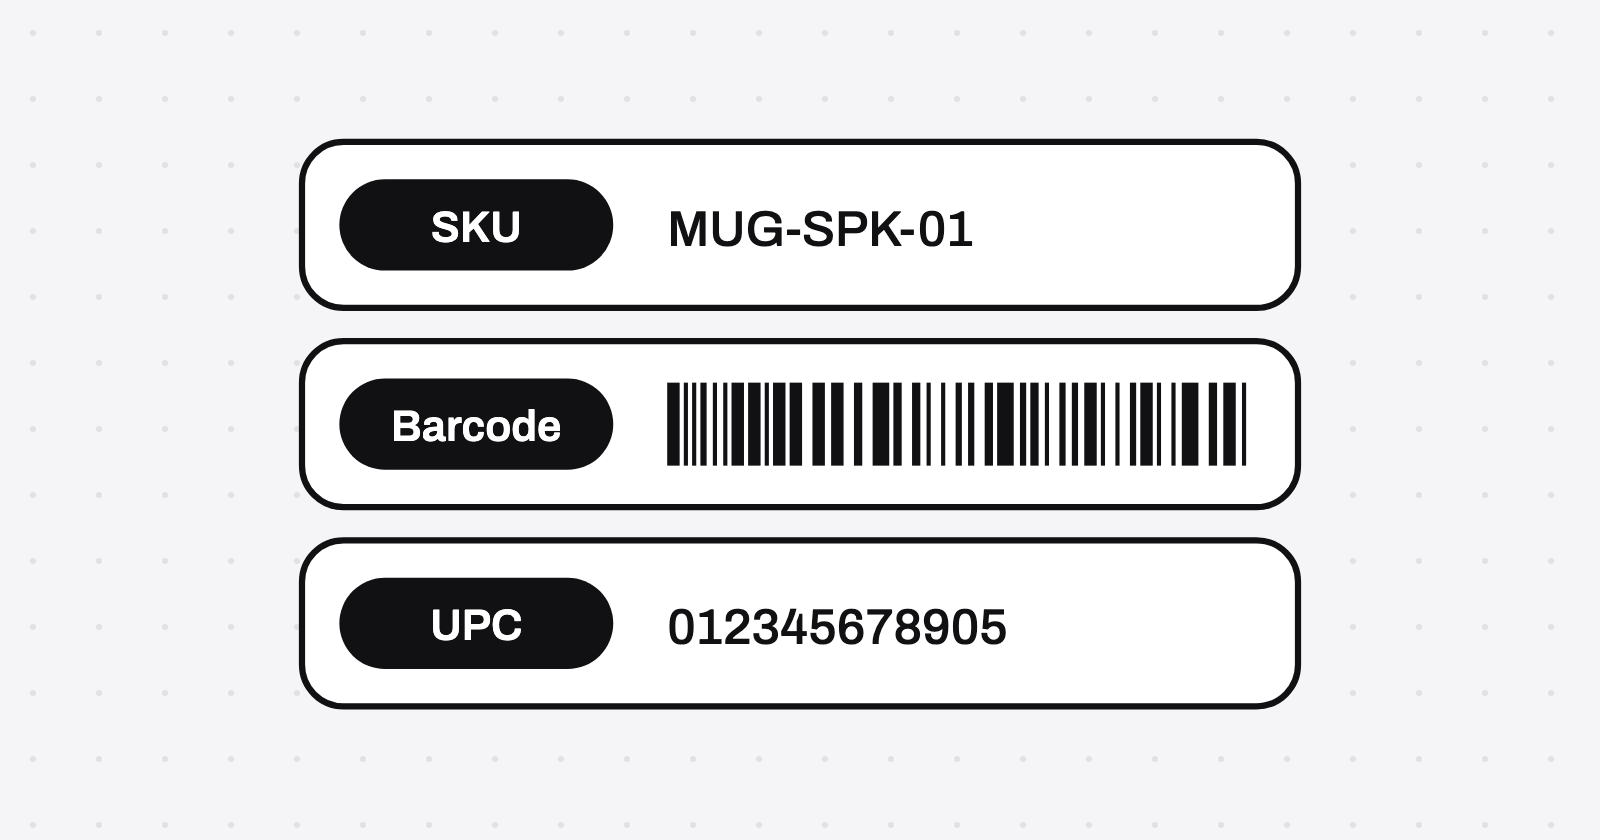
In Shopify, the SKU has its own field. Barcodes go in the Barcodes field, and since September 2026 each one can have a type.
| Type | What it takes | Use it for |
|---|---|---|
| Custom | Any value, up to 255 characters. This is the default | Your own codes, and non-GTIN codes such as Code 128 |
| GTIN | 8, 12, 13 or 14 digits | Numbers registered with GS1 |
| UPC | 8 or 12 digits | Mostly North American retail products |
| EAN | 8 or 13 digits | Mostly products outside North America |
| ISBN | 10 or 13 characters, and may include X | Books and e-books |
| ASIN | 10 letters or digits | Amazon's own catalog number |
| NS-PID | Up to 255 characters | A manufacturer product identifier, such as a model or style number, for EU customs declarations |
- Up to 20 per variant: Shopify added this on 8 September 2026. Any of them finds the product at POS.
- The first one matters most: sales channels read the first barcode, and it's used wherever only one fits. So enter the number your channels need first.
- GS1 check: enter a GS1-registered number and Shopify sets the type to GTIN. If it can compare the product name and vendor with GS1's listing and they don't match, it warns you.
Step 1: Make free barcodes with Shopify's app
If you only sell in your own shop, Shopify's free Retail Barcode Labels app can make barcodes for you. It's Shopify's own barcode generator, and Shopify's help pages explain how it works.
- Install Retail Barcode Labels from the Shopify App Store.
- Open the app and choose Create barcodes.
- Choose Create barcodes for products without barcodes.
Want codes for only some products? Choose Create barcodes for specific products instead, and pick only products that don't have a barcode yet.
Don't create barcodes for products that already have ones you entered. Shopify says the app overwrites them.
What you should know about the barcodes it makes:
- Format: Code-128 only, using the last 8 digits of the variant ID.
- Duplicates: two products can get the same barcode if their variant IDs end in the same 8 digits. Shopify says you can type a different one in by hand.
- Google Shopping: not suitable, Shopify says, because several stores can share the same codes.
Step 2: Add barcodes you already have
If your products came with barcodes, or you bought GTINs, type or scan them into Shopify. Each variant needs its own.
One product
- In your Shopify admin, go to Products and open the product.
- In the Inventory section, click the Barcodes field.
- Enter the number in Barcode.
- To set its type, click the Custom drop-down and pick one.
- Optional: to add another, click Add barcode and repeat.
- Click Save.
In the Shopify mobile app, the same field has a barcode icon, so you can scan the number with your phone's camera.
A product with variants
- Open the product, and in the Variants section select the variants to edit.
- Click the horizontal menu icon, then Edit barcodes.
- Open each variant's drop-down and enter its barcode, and its type if you want.
- Click Done, then Save.
Many products at once
- Bulk editor: Shopify says you can add barcodes there, and scan them in with a barcode scanner.
- CSV import: use the Barcodes column, with up to 20 per variant. Separate them with a semicolon. Shopify's changelog calls it Variant Barcodes.
- Types in a CSV: put the type and a colon before a value, as in
gtin:00012345678905; upc:012345678905; INTERNAL-123. A value with no type imports as Custom. - Older files: exports now use Barcodes instead of the old single Barcode column. A file with both columns won't import.
- Safe updates: export your products first and change only the barcodes. Keep the URL handle, Title and Option1 columns, and choose Overwrite products with matching handles when you import.
Keep the Option1 columns. Shopify warns that if you leave out the Option1 name and Option1 value columns, a new default variant is created and existing variants are deleted.
Watch your zeros. Microsoft says Excel removes leading zeros and turns large numbers into scientific notation. Format the barcode column as Text before you enter the numbers, or import it as text.
Step 3: Print the labels
Shopify's app prints from the product list, on the printer and labels from What you need.
- In your Shopify admin, go to Products and select the products.
- Click the horizontal menu icon, then under Apps select Print barcode labels.
- Choose a label template that matches the labels you have.
- Enter the number of labels for each variant.
- Check the printer settings in the Print job section, then click Print labels.
- To keep a copy, set Destination to Save as PDF.
- Apply the print settings Shopify recommends, then click Print.
Printing labels for a delivery you just received? See how to print labels for received stock.
Label sizes
| Brand | Sizes Shopify lists |
|---|---|
| Dymo | 30252, 30336, 30332 and 30299. The 30299 price tag size isn't available in the UK |
| Avery | 5160 and 5167, on a laser or inkjet printer |
| Zebra | 10010037, 10010038, 10010039, 10015340, 10010043, 10010044, ZSB-LC6, ZSB-LC7 and ZSB-LC8 |
You can't add custom sizes. For anything else, Shopify suggests a third-party app.
What to watch for
- Every count is manual: the app has no automatic bulk printing or CSV upload.
- Print order: labels come out alphabetically by product title.
- No POS or iPad printing: for an iPad, Shopify points to the Dymo Connect app instead.
- Print quality: Shopify's tips are 300 DPI or higher, at least 1.5 in wide and 1 in tall, dark ink and the number under the bars. Some smaller label sizes may fall below that, so test one sheet before a big run.
Common problems
| What happened | What to do |
|---|---|
| The app replaced barcodes you'd entered | You created barcodes for products that already had them. Enter the old numbers again by hand, or import them from a product CSV you exported earlier. Follow the safe-update steps in Step 2, since that file can also undo other changes. |
| Two products share a barcode | This can happen with the app's codes. Type a different barcode on one of them. |
| A product has limited reach on Google | Google says missing or wrong GTINs can limit visibility. Use the maker's GTIN or one from GS1, not the app's code. Never make one up. |
| Zeros vanished from your CSV | Your spreadsheet removed them. Format the column as text, fix the numbers and import again. |
| Shopify warns about a GTIN | The product name or vendor doesn't match GS1's listing. Check the number and your product details. |
| A label won't scan | Check Shopify's print tips above. Keep labels flat and off product edges, and don't cover the barcode with tape or shrink wrap. |
What we couldn't confirm
- The app's code type: Shopify's pages don't say which type its 8-digit codes get under the new barcode types.
- Labels with several barcodes: Shopify's changelog says the first barcode is used wherever one is expected, and that labels keep working. The app's page doesn't say which one its labels print.
- Which stores can install the app: its listing says it works only with certain stores.
- Reordering barcodes: we couldn't find how to move a barcode to first place on a variant.
Sources
All checked 5 November 2026. Shopify's screens can change, so go by your admin if it differs.
- Shopify: understanding barcodes
- Shopify Changelog: product variants now support multiple barcodes
- Shopify: using CSV files to import and export products
- Shopify: the Retail Barcode Labels app
- Shopify App Store: Retail Barcode Labels listing
- GS1 US: how to get UPC barcodes for products
- GS1: get barcodes
- Google Merchant Center: GTIN
- Microsoft: keeping leading zeros and large numbers